
Cardinal directions with the left shoulder
In side-lying on your right side, you systematically go through movements of your left shoulder in the cardinal directions: forwards, backwards, upwards, downwards. You lead with your left shoulder, or with your left hand and your left arm extended. You go through various differentiations.
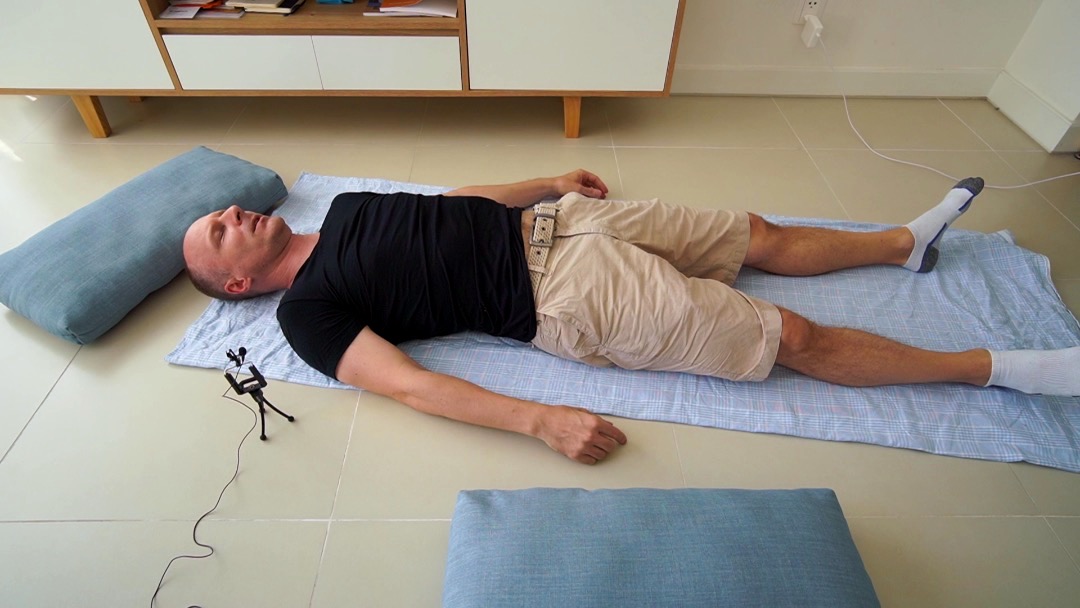
After the lesson you will likely be able to move your shoulder much further, much more refined, and in ways you could not move your shoulder before. The inability to move the shoulder, therefore, was not a matter of structure or muscle stiffness, but it was something in the brain, an inhibition. Take rests on your back in between movements or whenever needed.
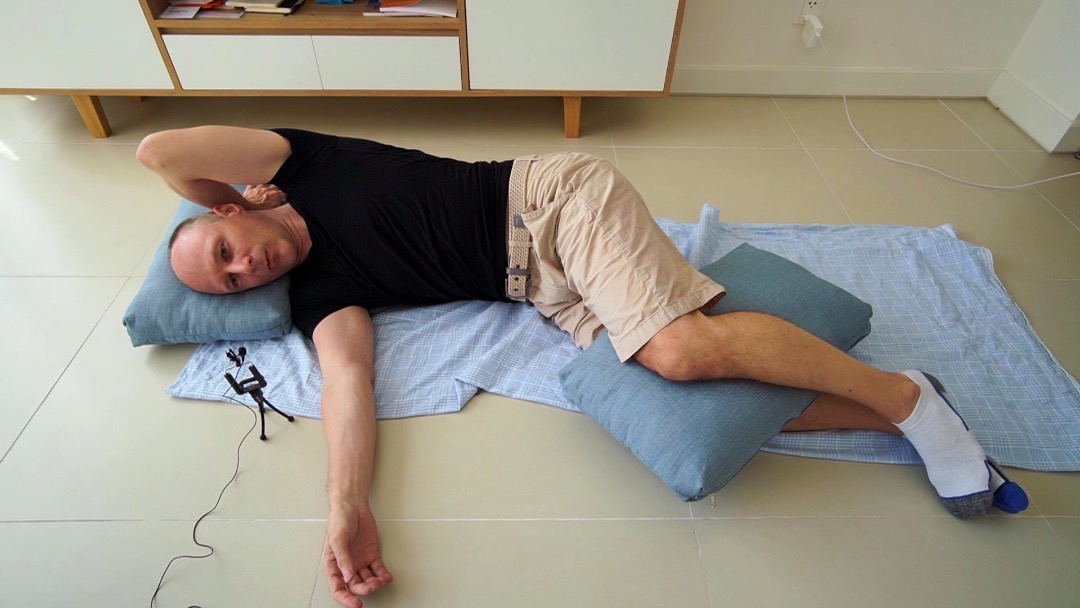
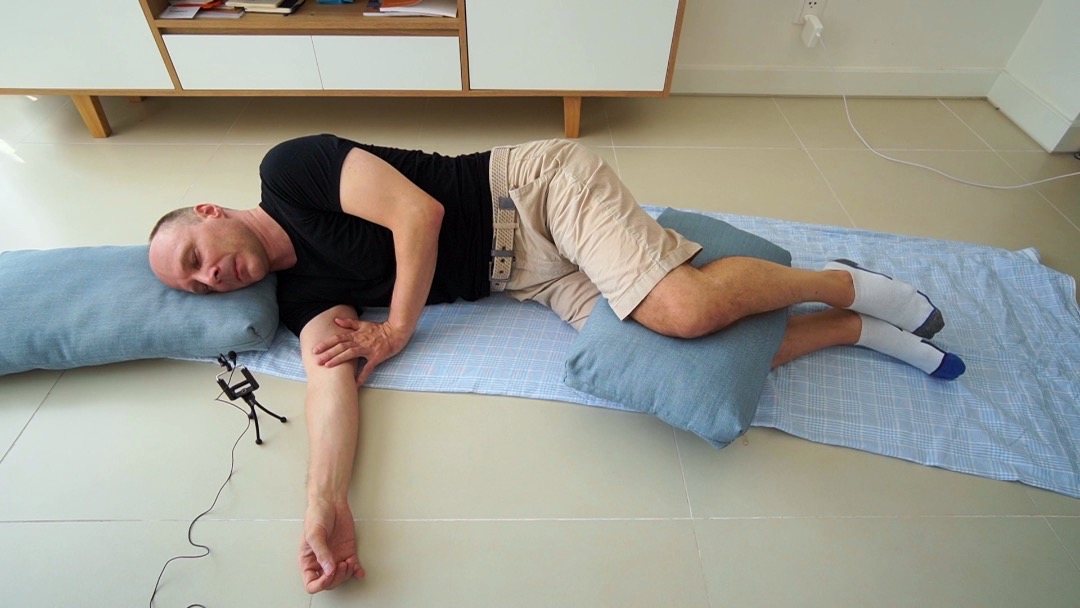
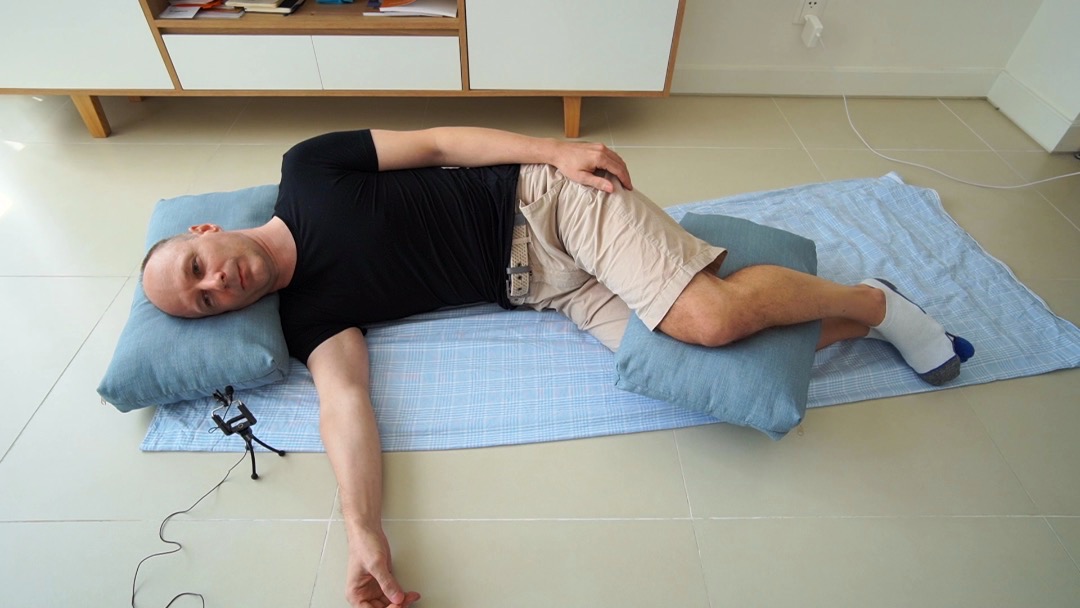
cardinal-directionsshoulderside-lying shoulder_side_lying_1
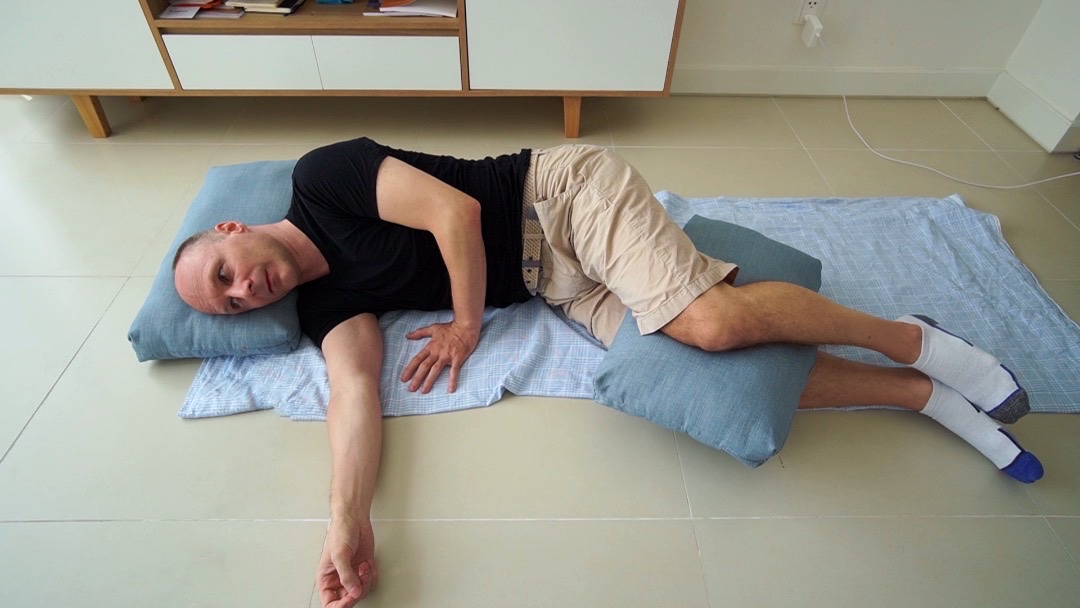
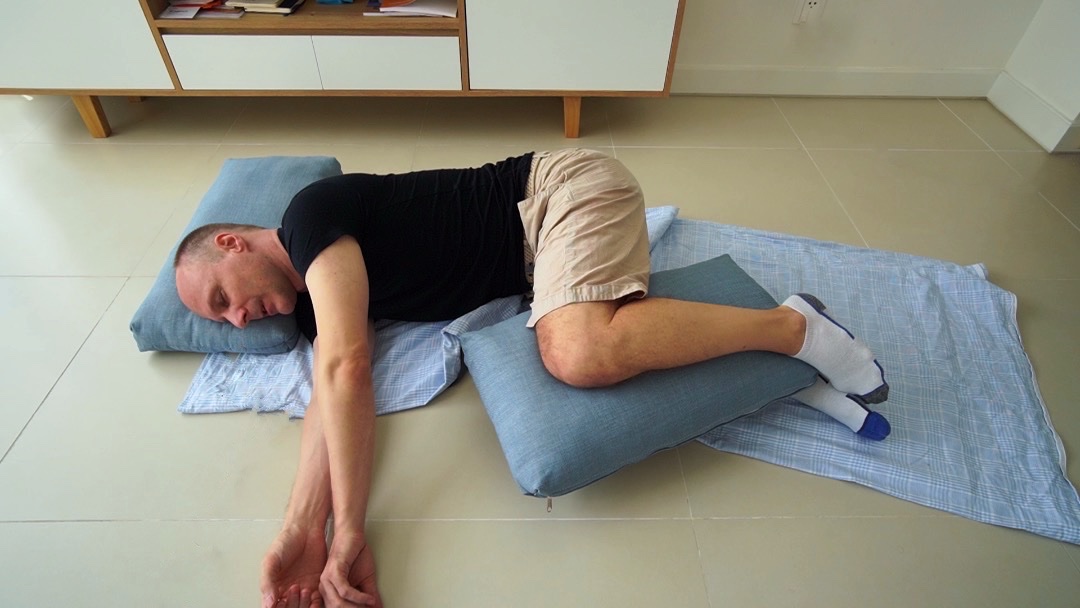
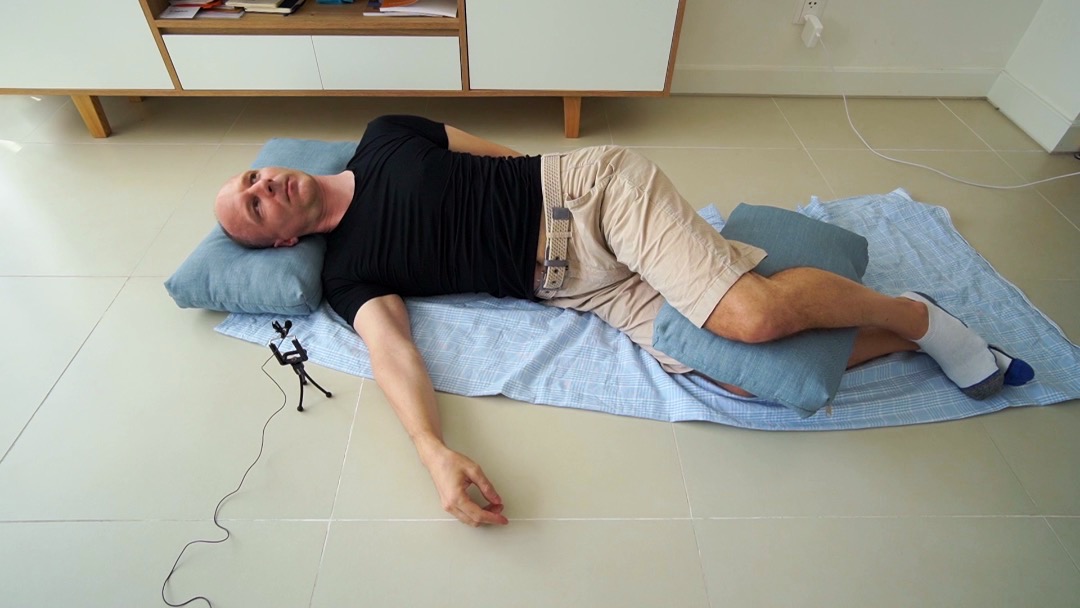
Side-lying on the right side. Knees and hip joints bent to keep balance. Head supported by something like a firm pillow. Left hand standing in front of your abdomen, elbow towards ceiling.
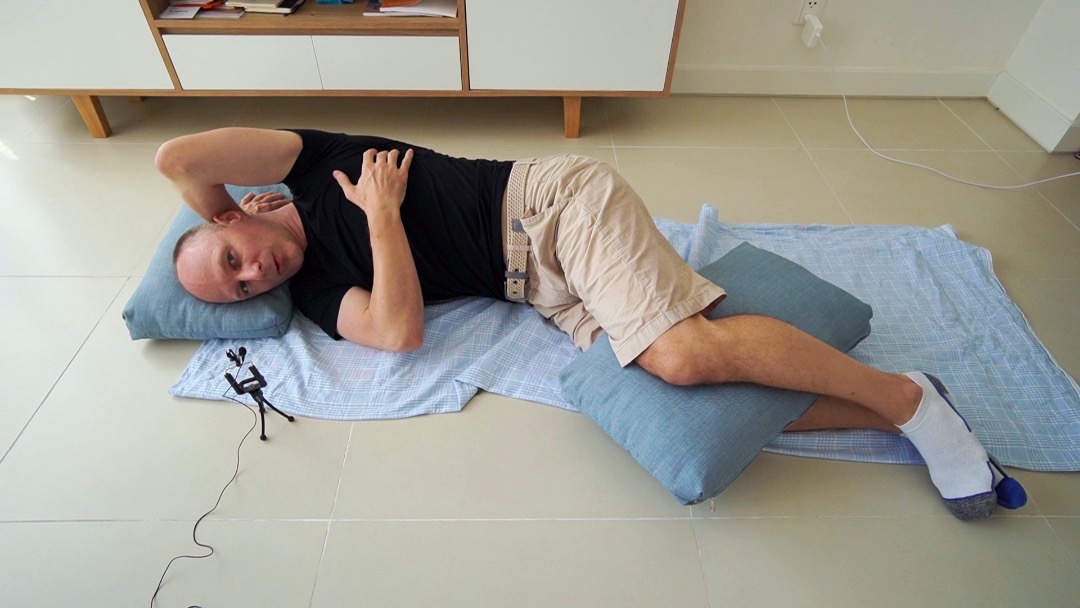
Move left shoulder forwards
Be sure that it is really forwards (and not upwards), and let it return to where it was.
- How can you be sure your shoulder is moving really forwards, and not upwards or downwards?
Move left shoulder forwards
Be sure that it is really forwards (and not upwards), and let it return to where it was.
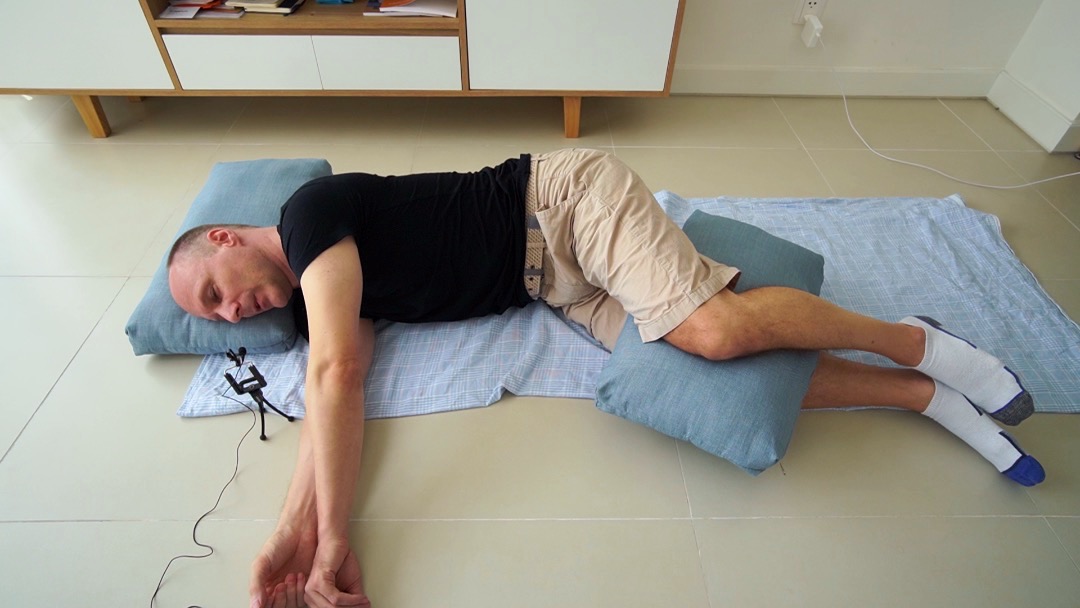
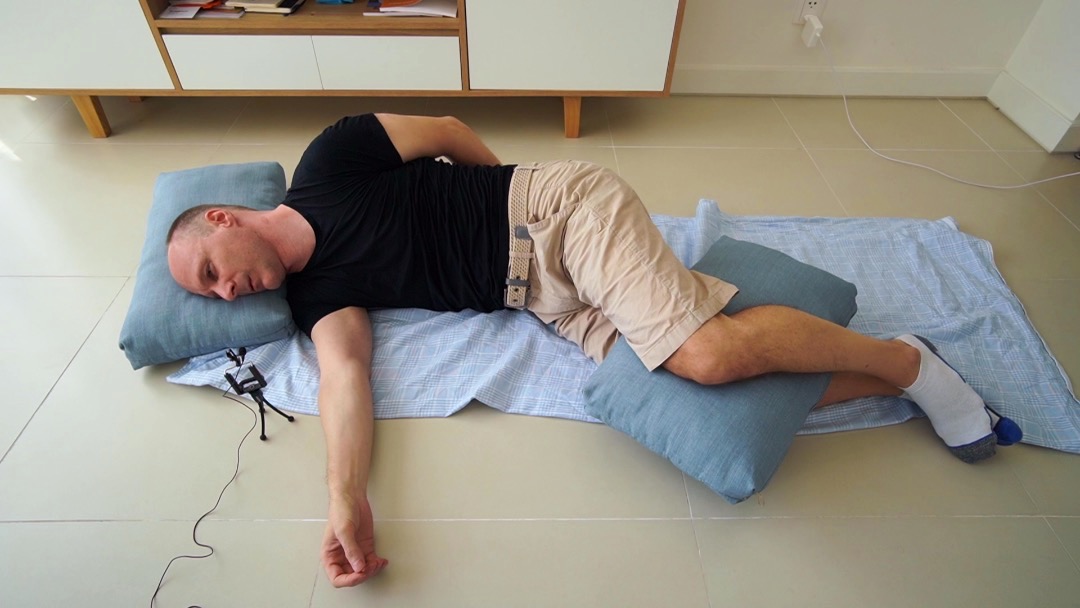
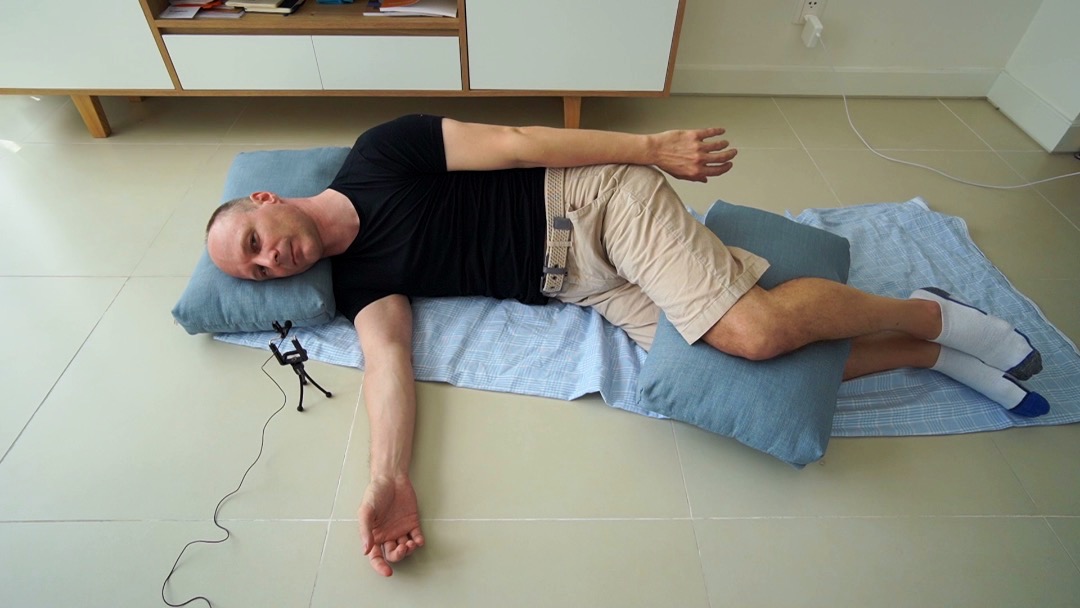
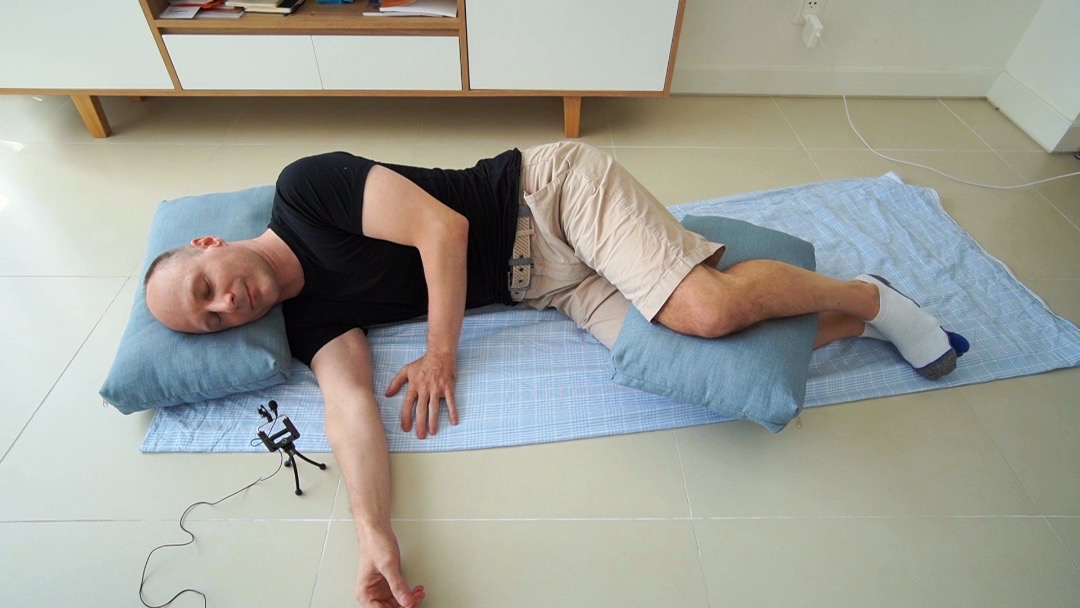
Side-lying on the right side, with left arm extended in front.
Slide extended left arm forwards
Keep your left elbow extended and slide your hand on the floor forwards away from you.
- See if the extended arm helps to feel the forwards direction more clearly.
Slide extended left arm forwards
Keep your left elbow extended and slide your hand on the floor forwards away from you.
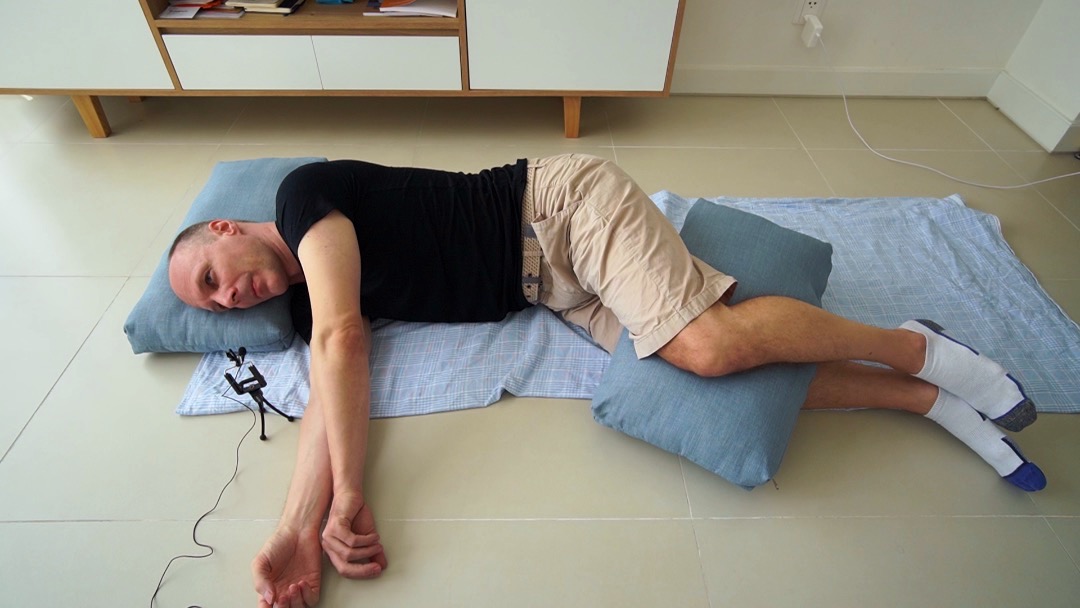
Side-lying on the right side, arms extended in front of you, interlace both hands (optional).
Slide left knee forwards
Notice when you slide your left arm forwards, your left knee also moves. Now move your knee only.
- Stop sliding your arm and move your knee only.
Slide left knee forwards
Notice when you slide your left arm forwards, your left knee also moves. Now move your knee only.
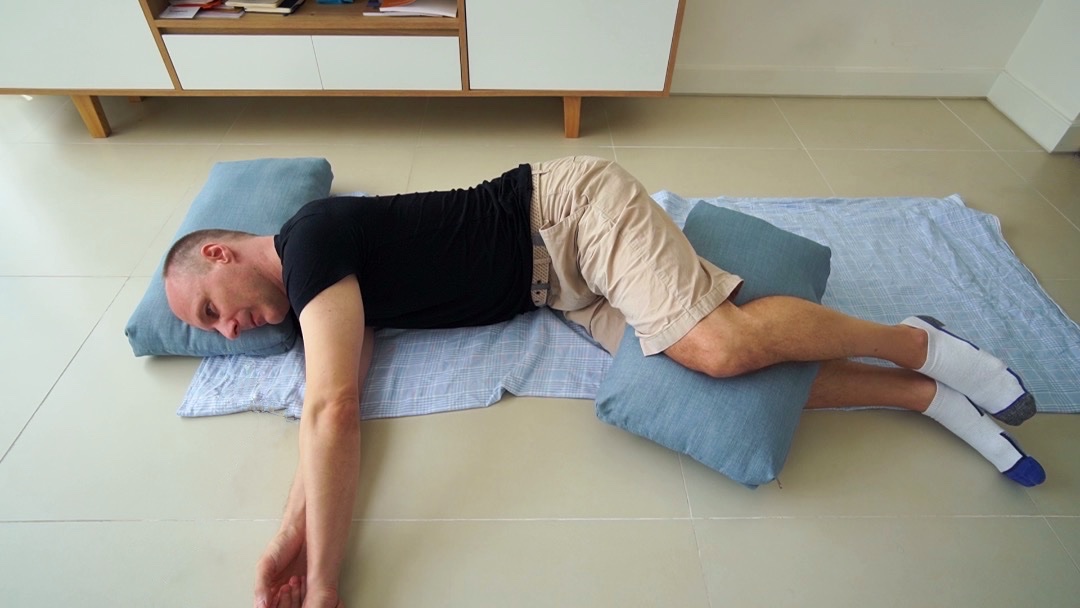
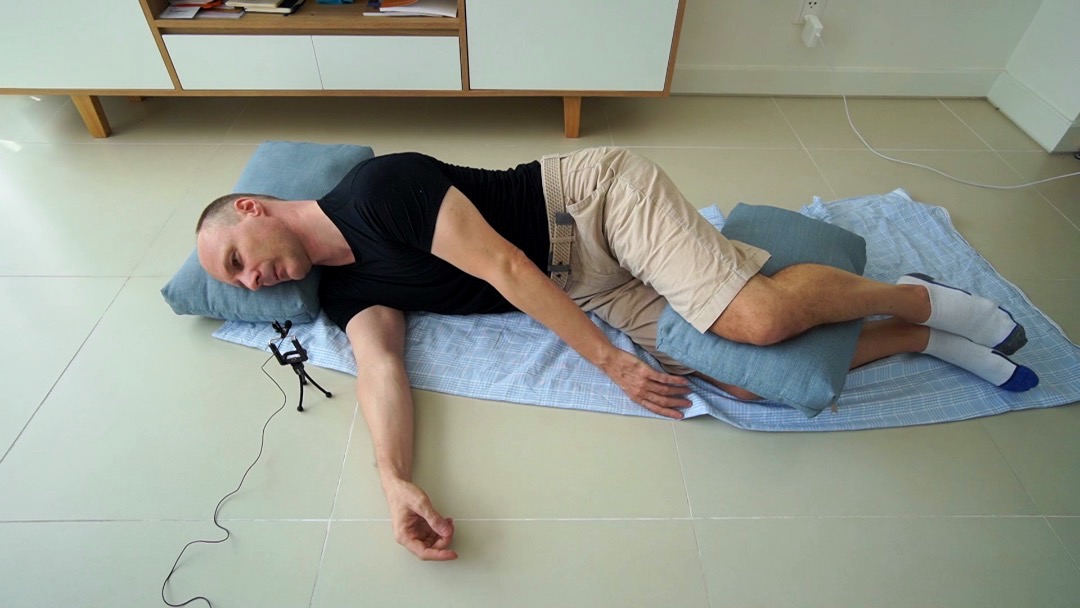
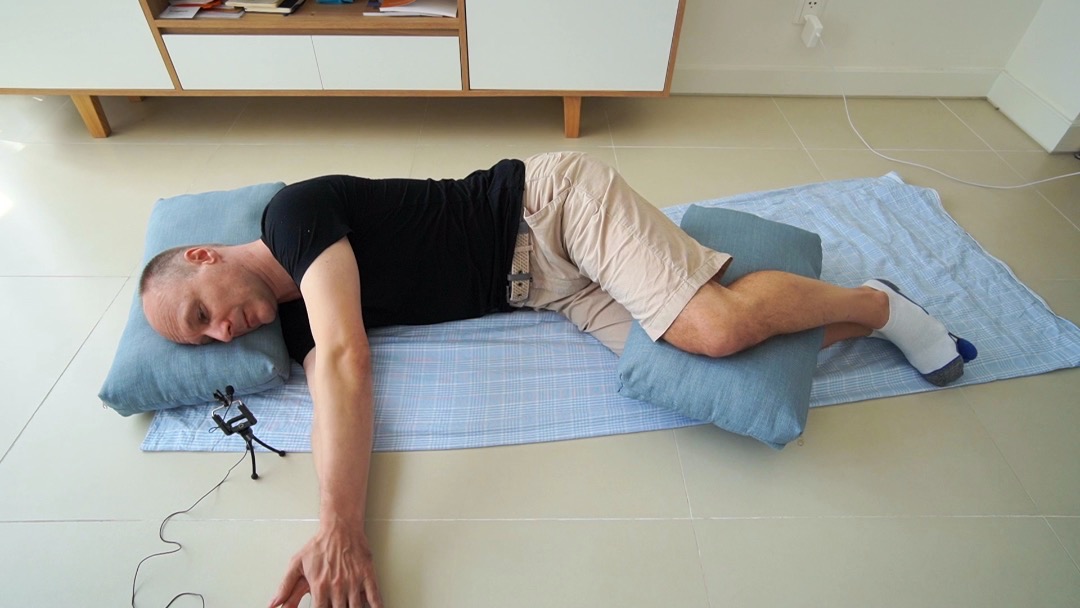
Side-lying on the right side, with left arm extended in front (hands not interlaced).
Slide left knee and arm forwards
Start with your knee, add the movement of your arm, let your head roll, your back arch, your sit-bones move backwards.
- Keep your neck free and allow your head to roll, your belly to come closer towards the floor, your right side to lie and press against the floor more fully, your back to arch, and your sit bones to move backwards.
Slide left knee and arm forwards
Start with your knee, add the movement of your arm, let your head roll, your back arch, your sit-bones move backwards.
Side-lying on the right side, with left arm extended in front, draw knees more up towards your belly.
Slide left arm forwards, various leg positions
Observe your arm and shoulder movements with hips/knees bent and/or extended.
- When your knees are drawn up to your belly and your back is flexed, it will make it more difficult to slide your arm forwards, the movement is shorter.
When your legs are extended too much your side-lying position will become unstable. Find the most suitable angles to support the movement.
Slide left arm forwards, various leg positions
Observe your arm and shoulder movements with hips/knees bent and/or extended.
Side-lying like before. The left hand behind the back.
Slide left hand backwards
With your left hand behind your back, on or near the floor.
- This time your hand leads the movement, like before forwards, but now it's backwards.
Start out softly, slowly. If your hand can't reach the floor yet, your hand will come down to the floor more and more fully with every movement.
Stay in side-lying.
Slide left hand backwards
With your left hand behind your back, on or near the floor.
Side-lying like before. The left hand behind the back, from over-head.
Slide left hand backwards, from over-head
Don’t strain. Move only to the degree that is comfortable.
- Stop at any moment you like.
Slide left hand backwards, from over-head
Don’t strain. Move only to the degree that is comfortable.
Side-lying like before. The left hand behind the back, from over-head.
Move left shoulder backwards, from over-head
Alternate between moving your shoulder backwards, and sliding your hand backwards.
- Separate the shoulder movement from the movement of the hand on the floor.
Observe: the movement of your left shoulder might increase considerably with every time you alternate between the two ways.
Move left shoulder backwards, from over-head
Alternate between moving your shoulder backwards, and sliding your hand backwards.
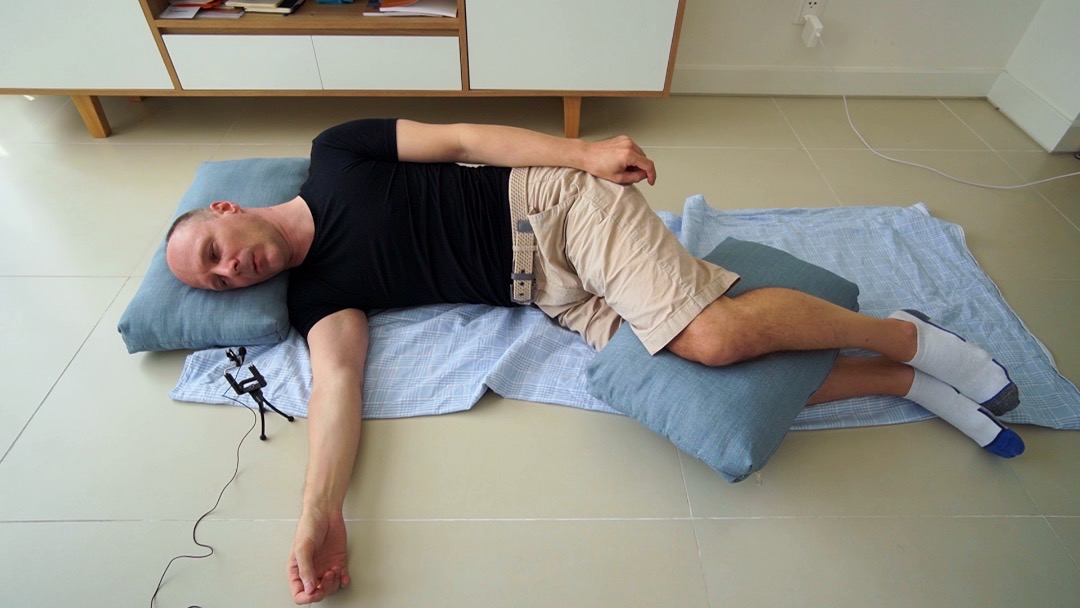
Side-lying on your right side, your left hand behind your back, at the area of the lower back.
Reference movement
Move left shoulder backwards
Your left hand behind your lower back, observe how it has improved.
Reference movement
Move left shoulder backwards
Your left hand behind your lower back, observe how it has improved.
Side-lying on your right side, your left hand behind your back, at the area of your lower back.
Reference movement
Slide left hand backwards
Observe how it has improved, and how it relates to your pelvis and head.
- Observe, the backward movement of the hand might be very different from the first attempt.
Observe how the movement can start from the pelvis and go throughout the spine, moving the shoulder as a part of a whole.
The better differentiated the shoulder is, the more it is a movement back and forth, not a circle.
Reference movement
Slide left hand backwards
Observe how it has improved, and how it relates to your pelvis and head.
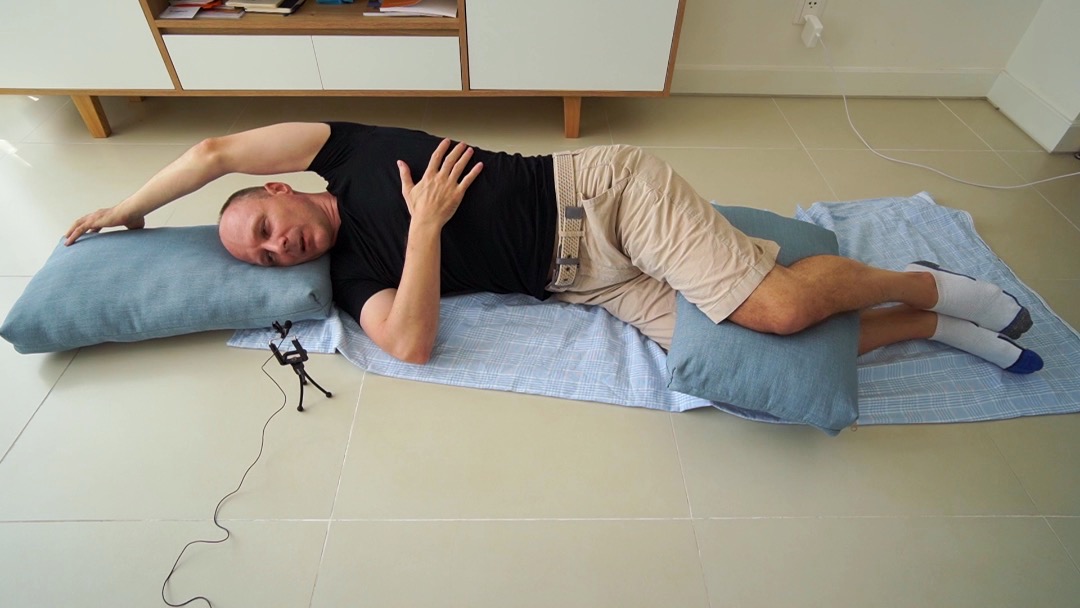
Side-lying on your right side, left hand standing in front of abdomen.
Reference movement
Move left shoulder forwards
Also slide your left hand forwards, with your left arm extended.
- Observe how it is now, compare to how it was in the beginning. The range of motion might have increased considerably.
Reference movement
Move left shoulder forwards
Also slide your left hand forwards, with your left arm extended.
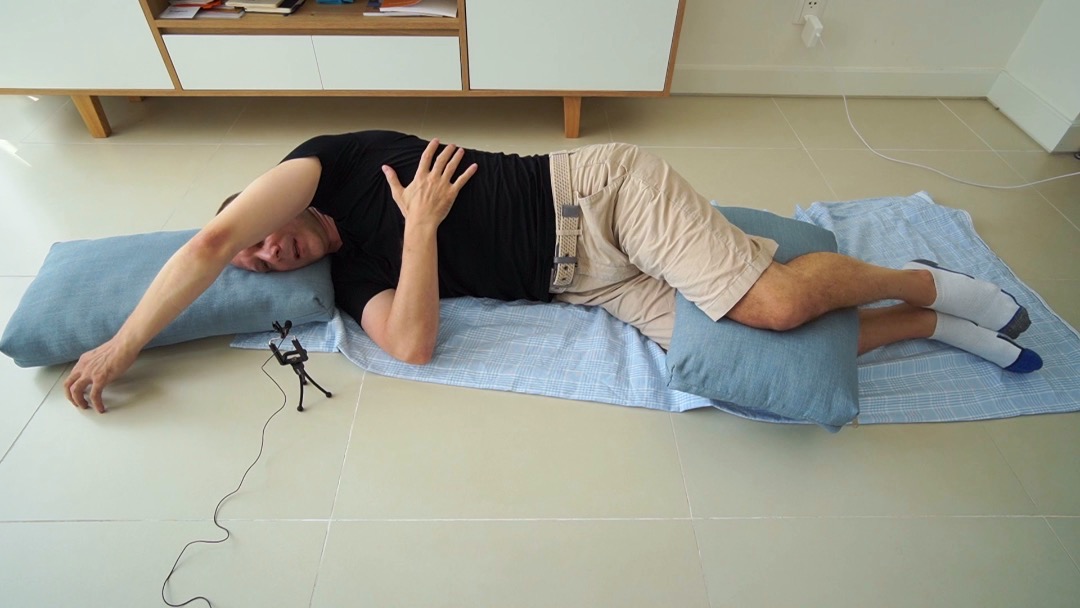
Side-lying on your right side, left hand standing in front of abdomen.
Left shoulder towards left ear
Find a clear upwards direction, perpendicular to the previous forwards and backwards.
Left shoulder towards left ear
Find a clear upwards direction, perpendicular to the previous forwards and backwards.

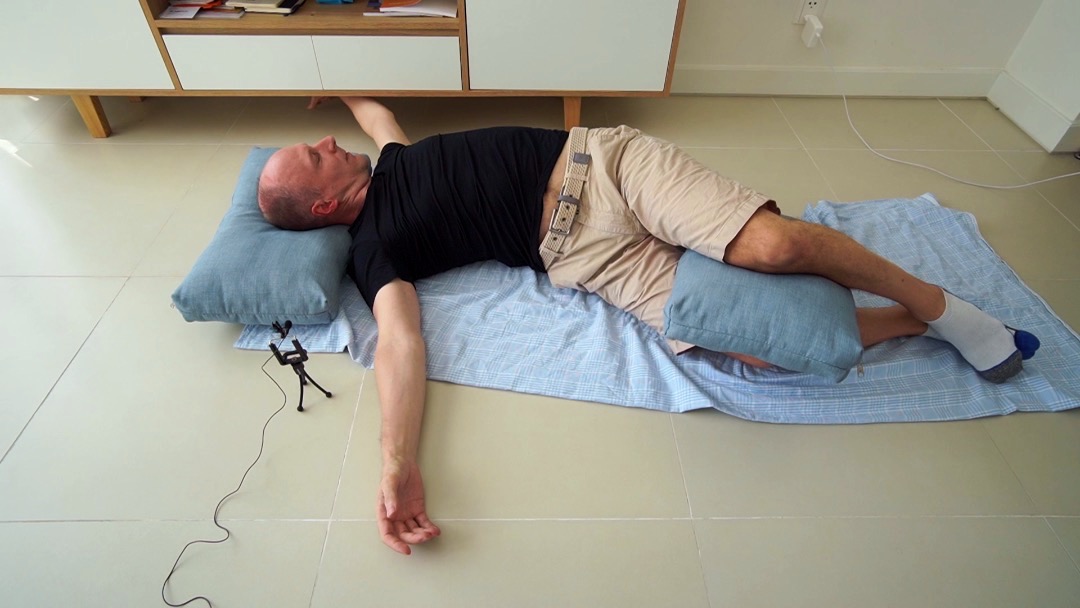
Side-lying on your right side, left arm extended and aligned straight up above the head.
Slide extended left arm up
Touch the fingers to the ground above, slide hand up and back to neutral again.
- What happens in your chest and in the rest of your body?
Where do you feel a limitation to the movement?
Let your whole body move and assist your hand in moving upwards.
Slide extended left arm up
Touch the fingers to the ground above, slide hand up and back to neutral again.
Side-lying on your right sideg, left arm extended and aligned straight up above the head, at the furthermost possible upwards position.
Slide left hand forwards + backwards
Stop at the farthest point your hand can reach and slide your hand on the floor.
- Slide your hand on the floor in the forwards and backwards direction.
Let your whole body assist the left shoulder-blade so that you can move easily.
Slide left hand forwards + backwards
Stop at the farthest point your hand can reach and slide your hand on the floor.
Side-lying on your right side, left arm extended and aligned straight up above the head, at the furthermost possible upwards position.
Slide left hand forwards + backwards, faster
Speed up, do the movement fast.
- When your hip joints, lower spine, and chest participate, your hand can move up further.
At the same time the differentiation will help you reach up for the same distance, without conscious help from other parts.
Do it patiently and with ease, it should not be painful.
Slide left hand forwards + backwards, faster
Speed up, do the movement fast.
Side-lying on your right side, left arm extended and aligned straight up above the head, at the furthermost possible upwards position.
Slide left hand forwards + backwards, wider
Slow again, but make the movement larger.
- Allow yourself to do move your body to assist the hand in the movement.
The fullest range of moving the hand is from the stomach all the way around on the floor to the buttocks.
Slide left hand forwards + backwards, wider
Slow again, but make the movement larger.
Side-lying on your right side, left arm extended and aligned straight up above the head.
Reference movement
Slide extended left arm up
Stay in the middle and move your hand up and down, see if it is different.
- Observe how your whole self is moving. See which part of you is now participating in the movement more than before, or might have been ignored before.
Reference movement
Slide extended left arm up
Stay in the middle and move your hand up and down, see if it is different.
Side-lying on your right side, left hand standing in front of abdomen.
Reference movement
Left shoulder towards left ear
Observe if there is an increase in range of motion, and an easier, smoother, less jerky movement.
Reference movement
Left shoulder towards left ear
Observe if there is an increase in range of motion, and an easier, smoother, less jerky movement.
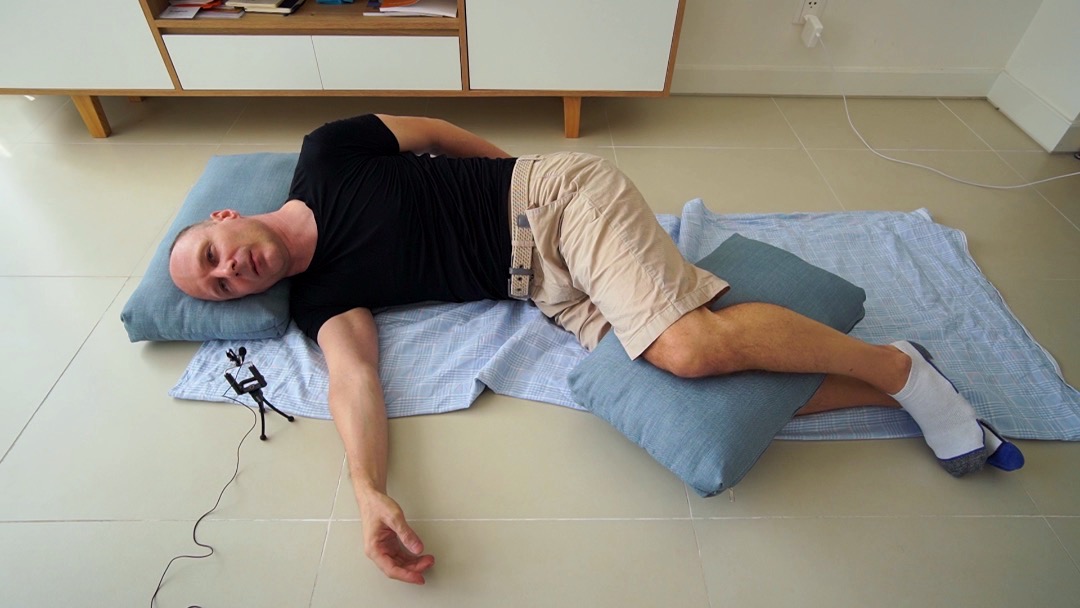
Side-lying on your right side, your left hand on your left hip.
Slide your hand downwards
Slide straight down, and also alongside your thigh. Allow your shoulder to rotate.
- Find which parts of your body do not move, and thus prevent your shoulder from sliding down further.
Slide your hand downwards
Slide straight down, and also alongside your thigh. Allow your shoulder to rotate.
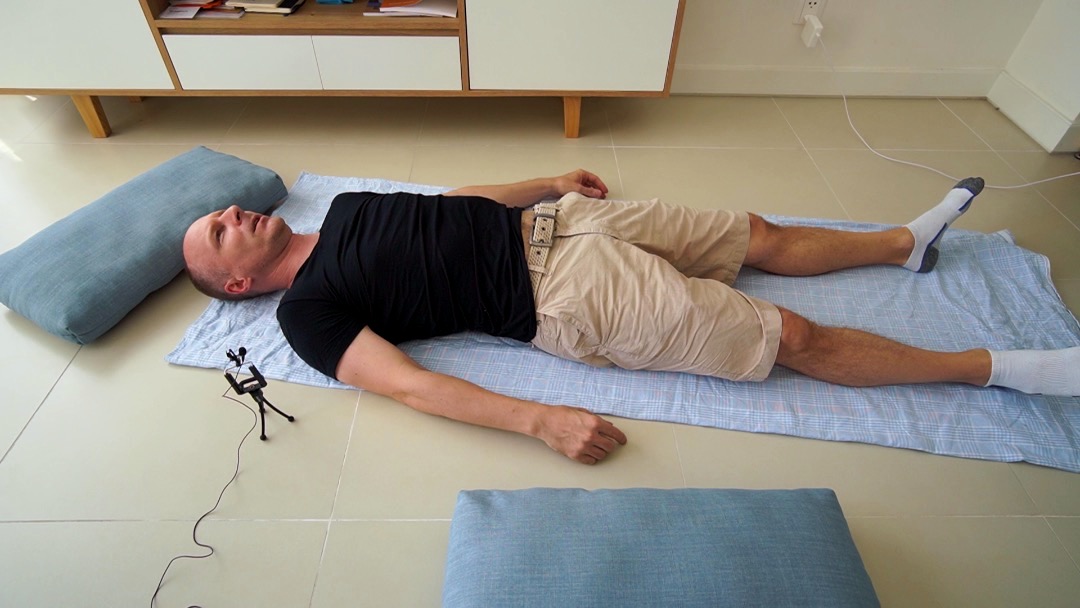
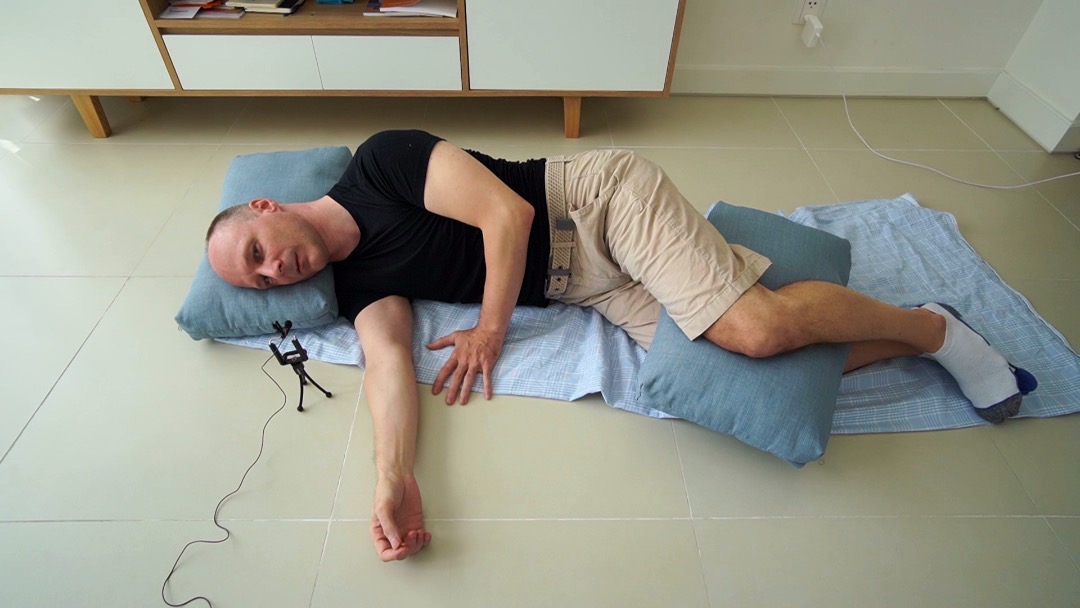
Side-lying on your right side, with your left arm extended on the floor in front of you, downwards alongside your torso.
Slide your hand downwards, in front
Allow any movements, so that the shoulder can go wherever it needs to in order to let the hand slide further down.
- The hand stays on the floor, and slides downwards in the direction of the feet.
Slide your hand downwards, in front
Allow any movements, so that the shoulder can go wherever it needs to in order to let the hand slide further down.
Side-lying on your right side, with your left arm extended on the floor behind you, downwards alongside your torso.
Slide your hand downwards, in the back
Allow your head to roll with the downwards movement. Differentiate.
- See how it is to have your head rolling to the left while you slide your hand downwards.
Then see how it is to have your head rolling to the right.
The head rolls on the floor, do not lift it.
Slide your hand downwards, in the back
Allow your head to roll with the downwards movement. Differentiate.
Side-lying on your right side, left hand standing in front of abdomen.
Reference movement
Left shoulder downwards
Slide your left shoulder downwards towards your left hip. See how it has changed.
Reference movement
Left shoulder downwards
Slide your left shoulder downwards towards your left hip. See how it has changed.
In side-lying on your right side, your left arm resting on top alongside your left side.
Circles with left shoulder
Move your shoulder forwards, upwards, backwards, downwards.
- Connect the four cardinal directions. Make sure to make circles, move through every quadrant in the same speed and quality.
Circles with left shoulder
Move your shoulder forwards, upwards, backwards, downwards.
In side-lying on your right side, your left arm resting on top alongside your left side.
Circles with left shoulder, reverse
Do shoulder circles in the other directions.
- The left elbow must be loose and the hand must lie in a place where there is no work in the elbow joint.
The shoulder moves while the elbow remains passive.
Circles with left shoulder, reverse
Do shoulder circles in the other directions.
In side-lying on your right side, your left hand placed behind your back.
Circles with left shoulder, hand behind
Try one direction first, then the other direction, then various speeds and circle sizes.
Circles with left shoulder, hand behind
Try one direction first, then the other direction, then various speeds and circle sizes.
In side-lying on your right side, your left hand placed in front of you, with some distance to your abdomen in order not to interfere with the movement.
Circles with left shoulder, hand in front
Try one direction first, then the other direction, then various speeds and circle sizes.
Circles with left shoulder, hand in front
Try one direction first, then the other direction, then various speeds and circle sizes.
Side-lying on the right side, like in the beginning. Left hand standing in front of your abdomen.
Move left shoulder forwards
See how it is now. See how it differs from before. Also slide your hand forwards and backwards.
- There might be a big difference to before.
Move left shoulder forwards
See how it is now. See how it differs from before. Also slide your hand forwards and backwards.
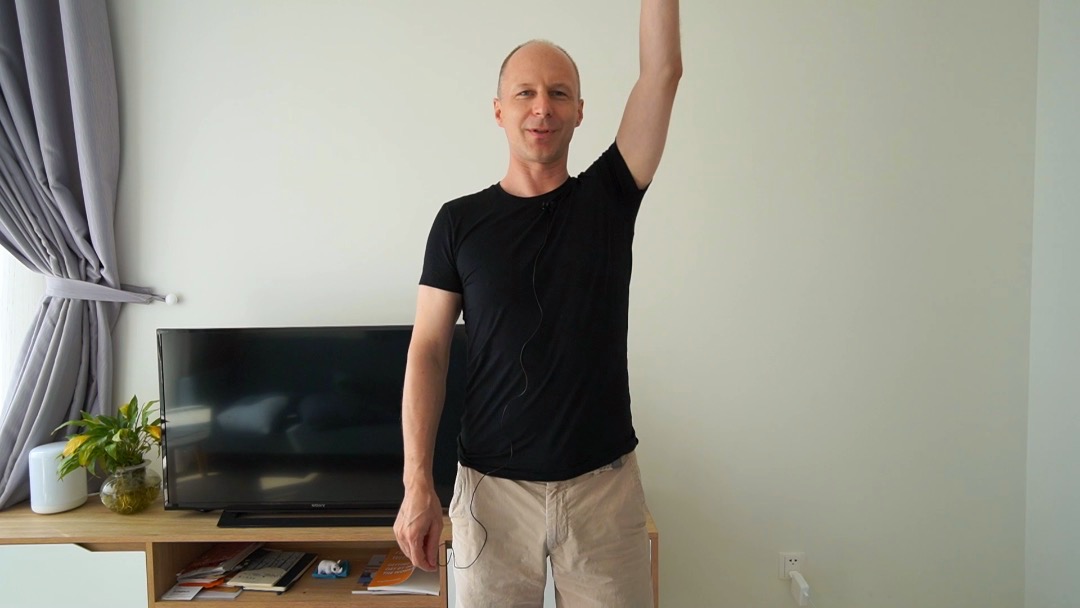
In standing.
Walk, lift one arm, then the other
Observe differences between your right and left side.
- Move about, observe, reach, or try touching the floor on your right side and your left side. Notice the differences.
Walk, lift one arm, then the other
Observe differences between your right and left side.